How to Make Perfect Green Onion Pancakes
Overview of Green Onion Pancakes
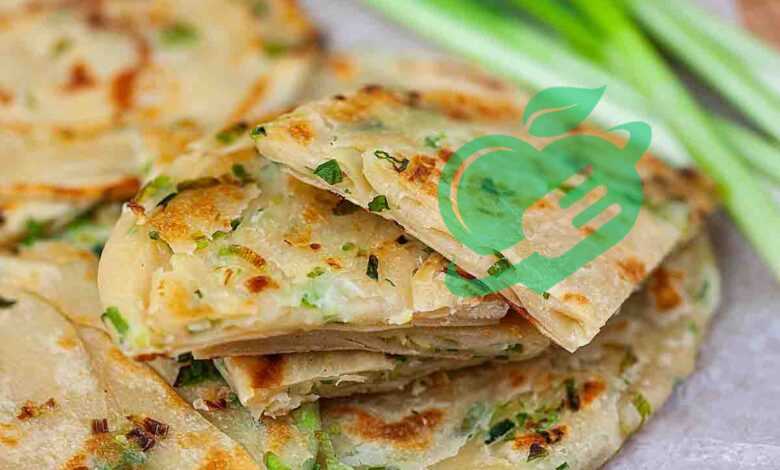
Green onion pancakes, also known as scallion pancakes, are a delightful culinary treat that hails from East Asia. These crispy, flaky pancakes are a perfect union of simple ingredients—flour, water, and, of course, fresh green onions. What makes them truly special is the rolling technique that creates multiple layers, delivering an irresistible texture with each bite. Often enjoyed as a street food snack or a savory side dish, these pancakes can be found in various cuisines, notably within Chinese and Korean traditions. Imagine biting into a warm, golden pancake, the layers unfurling to reveal a burst of fresh onion flavor. As you chew, the crispy edges give way to a soft interior that complements the slight chewiness of the dough. It’s a comfort food that appeals to both the young and the old, a dish that stirs up fond memories of family gatherings and culinary adventures.
Why Green Onion Pancakes Are Popular
The popularity of green onion pancakes can be attributed to several factors:
- Versatility: They can be served as a snack, appetizer, or even a main dish, pairing wonderfully with various dipping sauces.
- Simplicity: The recipe is straightforward, making it accessible for both seasoned cooks and kitchen novices.
- Cultural Appeal: Found in both Chinese and Korean cuisines, they resonate with many peoples’ taste buds, providing a taste of home or an introduction to East Asian flavors.
- Customizability: The basic recipe allows for countless variations. You can easily switch up the ingredients to add herbs, spices, or even leftover vegetables.
Whether enjoyed at a bustling market stall or made at home, green onion pancakes hold a special place in culinary hearts around the world. They are more than just food; they embody cultural traditions and the joy of sharing a meal.
Ingredients and Tools Needed
To create delicious green onion pancakes, you’ll need a few key ingredients that contribute to their unique flavor and texture. Here’s a simple list to guide you through your shopping:
- All-Purpose Flour: About 2 cups. This is the base of your pancake dough.
- Hot Water: ¾ cup. Hot water helps develop a dough that’s pliable and tender.
- Salt: ½ teaspoon. A must for seasoning the dough.
- Green Onions: A generous bunch (about 5-6), chopped. These will add the signature flavor.
- Vegetable Oil: 3-4 tablespoons, plus additional for frying. This oil will keep the pancakes crispy.
- Optional Seasonings: Feel free to add a pinch of sesame oil or ground pepper for an extra flavor boost.
With these simple ingredients, you’ll be well on your way to crafting perfect green onion pancakes!
Necessary Utensils and Equipment
Making green onion pancakes at home requires a few essential tools that will make your cooking experience smoother and more enjoyable:
- Mixing Bowl: For combining the flour and water.
- Rolling Pin: For rolling out the dough into thin, flat pancakes.
- Cutting Board or Clean Surface: A solid workspace to roll and shape your pancakes.
- Frying Pan: A non-stick pan works best to ensure even cooking and prevent sticking.
- Spatula: For flipping the pancakes without damaging them.
Having these utensils handy makes the process more efficient. I remember the first time I made green onion pancakes; the anticipation of rolling out the dough and frying it up was palpable! Each gadget played its part in bringing the dish to life, transforming simple ingredients into a sought-after treat. With everything set, you’re just a step away from creating a flavorful masterpiece!
Preparing the Dough
Mixing the Dough
Now that you have all your ingredients and tools ready, it’s time to dive into the dough-making process – the heart of the green onion pancake! To create a delicious and stretchy dough, follow these simple steps:
- Combine Dry Ingredients: In a mixing bowl, add 2 cups of all-purpose flour and ½ teaspoon of salt. Mix them using a fork or your hands, ensuring that the salt is evenly distributed throughout the flour.
- Add Hot Water: Gradually pour in ¾ cup of hot water. The heat from the water helps to activate the gluten in the flour, making the dough more pliable. Use a wooden spoon or chopsticks to stir the mixture until it starts to come together.
- Kneading: Once the dough has formed, transfer it onto a floured surface and knead it with your hands for around 5-10 minutes. You’re looking for a smooth and elastic texture. In my experience, this is where the magic happens – it’s always rewarding to feel the dough transform.
Resting the Dough for Optimal Texture
After kneading, the next crucial step is allowing the dough to rest. Resting is essential for developing the right texture, making the pancakes easier to roll out, and giving them that delightful flakiness.
- Wrap and Rest: Form the dough into a ball, then wrap it in plastic cling film or cover it with a clean kitchen towel. Let it rest for at least 30 minutes at room temperature.
- Why Resting Matters: This resting period allows the gluten strands to relax, which reduces elasticity and makes it much easier to roll out later. Many cooking mishaps can stem from skipping this step, resulting in tough pancakes that dare to resist your rolling pin!
After the dough has had its beauty sleep, you’ll be thrilled with its soft and yielding texture—perfect for creating those irresistible layers in your green onion pancake!
Read also: Bake Better with Our Whole Grains Bread Guide
Creating the Green Onion Mixture
Choosing and Preparing Green Onions
Now that your dough is resting, it’s time to turn your attention to the star of the show: the green onions! Choosing the right green onions is crucial, as their fresh flavor is what truly defines green onion pancakes.
- Select Fresh Onions: Look for bright green stalks that are crisp and firm. Avoid any that are wilted or have yellowing leaves. The fresher the onions, the more vibrant the flavor in your pancakes.
- Preparing the Onions: Rinse the green onions under cold water to remove any dirt or grit. Trim off the root ends and the wilted tops. A sharp knife works best here for a clean cut. Then, finely chop the green onions; you’ll want about 1 cup chopped.
In my experience, it’s always delightful to have the fresh aroma of green onions waft through the kitchen as you prepare them—it sets the mood for what’s about to come!
Seasoning and Flavoring the Mixture
Once the green onions are prepared, it’s time to enhance their natural flavor with a few seasonings, turning them into a mouth-watering filling for your pancakes.
- Easy Seasoning: Simply toss the chopped green onions into a bowl and add a pinch of salt and pepper to taste. Feel free to add a splash of sesame oil for a nutty aroma, or even a teaspoon of garlic powder for an extra kick.
- Taste Test: Before adding the mixture to your dough, take a small taste to make sure the seasoning is to your liking. This simple act can elevate your pancakes from ordinary to extraordinary.
With the green onion mixture prepped, you can now prepare to assemble your pancakes. The vibrant colors and scent are sure signs that you’re on the brink of enjoying a delicious treat!
Rolling and Shaping the Pancakes
Dividing the Dough
With the green onion mixture prepared and ready to go, it’s time to bring everything together by rolling and shaping the pancakes! Start this exciting stage by dividing the rested dough into manageable portions.
- Portioning the Dough: Take the dough ball and place it on a clean, floured surface. Using a knife or bench scraper, divide the dough into 4 equal pieces. If you’re feeling adventurous, dividing it into smaller portions will allow you to create mini pancakes, perfect for sharing or serving at brunch.
- Forming Balls: Roll each portion into a small ball and cover them with a damp cloth or plastic wrap to prevent them from drying out while you work with the others. This simple move ensures that each piece stays pliable and easy to work with!
Rolling Out the Pancake Dough
Once you have your dough balls, it’s time for the fun part: rolling them out!
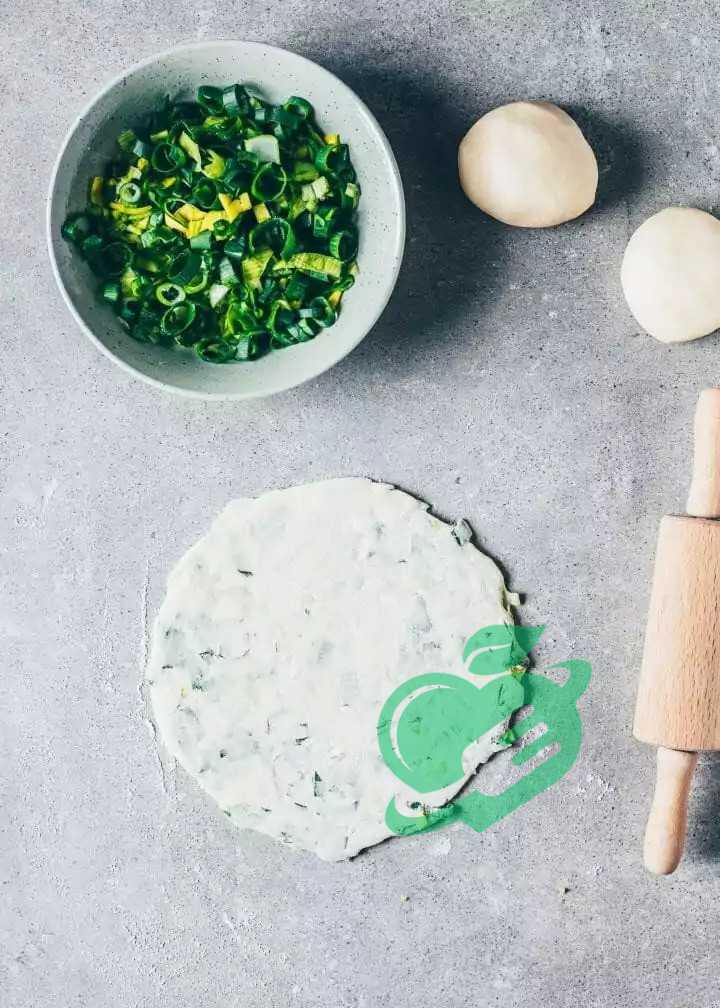
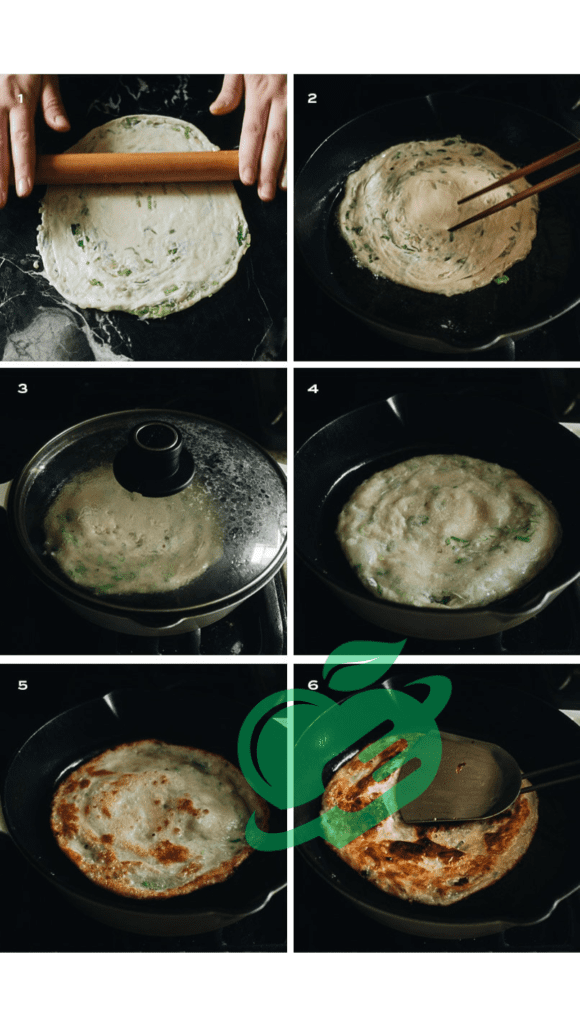
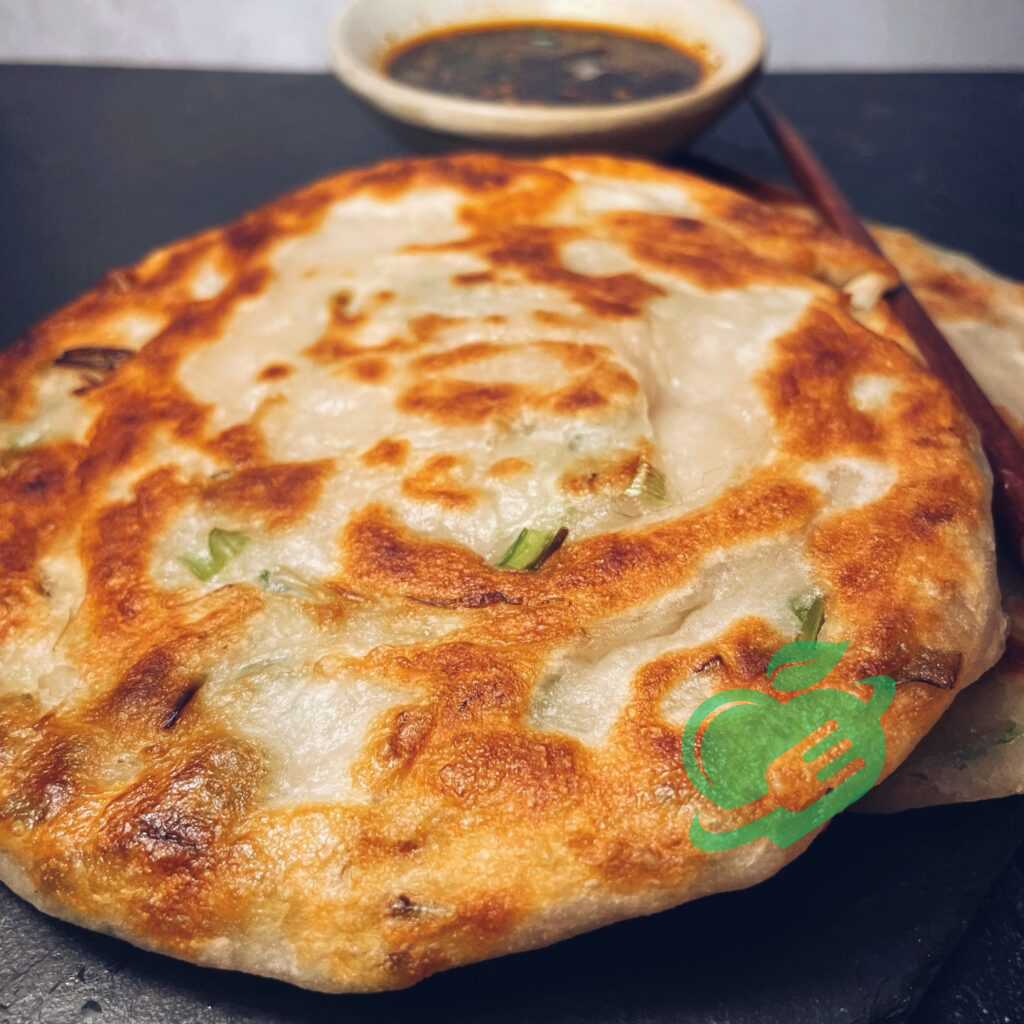
- Flour and Roll: Lightly flour your rolling pin and surface to ensure that the dough doesn’t stick. Take one ball of dough and flatten it slightly with your hands to make rolling easier. Then, using your rolling pin, carefully roll it out into a thin circle, approximately 8-10 inches in diameter. The thinner you roll it, the more layers you get!
- Layering with Green Onions: After rolling out the dough, sprinkle an even layer of your green onion mixture across the pancake. Be generous, but avoid overfilling, as it may make it hard to wrap.
- Creating Layers: Roll the pancake up into a cylinder, then coil it into a spiral shape before flattening it again lightly. This technique creates delicious layers once cooked, resulting in that cherished flaky texture.
I always feel a sense of accomplishment when I see the rolled dough come together; it’s where the art of cooking truly meets the joy of food preparation! With your pancakes shaped, you’re almost ready to fry them to golden perfection.
Read also: What is ancient medicine?
Cooking the Pancakes
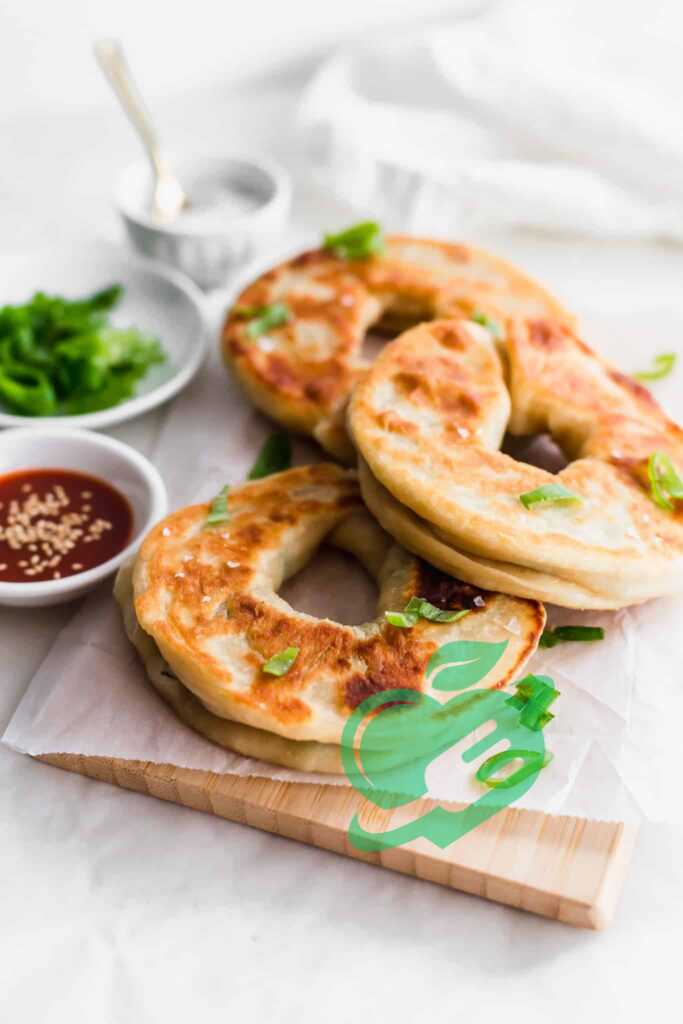
Now that your pancakes are beautifully shaped, it’s time to cook them to perfection! The choice of cooking oil plays a crucial role in achieving that golden-brown crust and crispy texture that everyone loves.
- Select the Right Oil: For frying green onion pancakes, a neutral oil with a high smoke point is ideal. Vegetable oil, canola oil, or even peanut oil are excellent options. They won’t overpower the flavor of the pancakes and will heat evenly for better cooking.
- Amount of Oil: In your frying pan, add about 2-3 tablespoons of oil and heat it over medium heat. You want enough oil to coat the bottom of the pan, ensuring even frying. If you’re using a non-stick skillet, you might be able to get away with less oil, but don’t skimp too much—oil is essential for that crispy exterior!
I recall the first time I cooked these pancakes; the sound of the sizzling dough instantly filled the kitchen with mouthwatering aromas. There’s something magical about watching them transform as they fry!
Achieving the Perfect Crispy Texture
The key to achieving that perfect crispy texture lies in the cooking process itself. Here are some tips to ensure your pancakes turn out just right:
- Frying Technique: Carefully place one pancake in the heated oil. Let it cook for about 2-3 minutes on each side or until golden brown and crisp. Avoid the temptation to flip them too soon; patience is key for that perfect crust!
- Crispiness Check: To achieve the desired crispiness, you can also press down gently on the pancake with a spatula while it cooks. This helps the layers meld together and crisp up nicely!
- Draining Oil: Once cooked, transfer the pancakes to a plate lined with paper towels to absorb any excess oil. This step keeps them from getting soggy and maintains that delightful crunch.
After frying, the sight of your crispy green onion pancakes—golden brown and inviting—is incredibly satisfying. They are now ready to be enjoyed, offering a delightful crunch with each bite!
Read also: 5 effective natural mixtures for slimming the buttocks
Serving and Enjoying
After the excitement of cooking your green onion pancakes, it’s time to present them in all their crispy glory! Cutting and plating can enhance the overall experience, making it more enjoyable for everyone at the table.
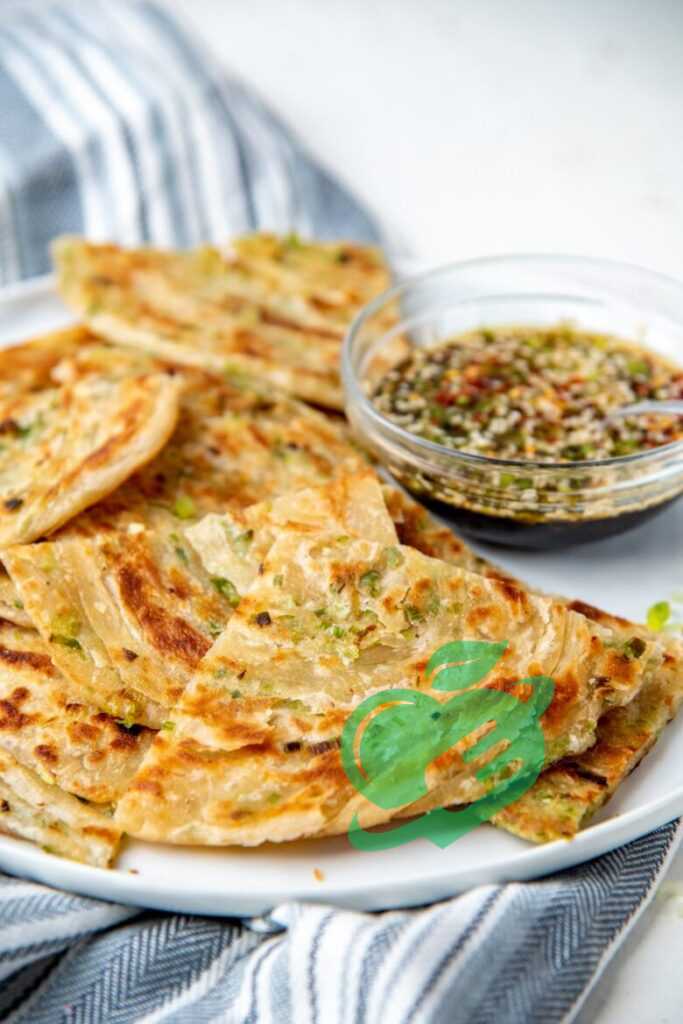
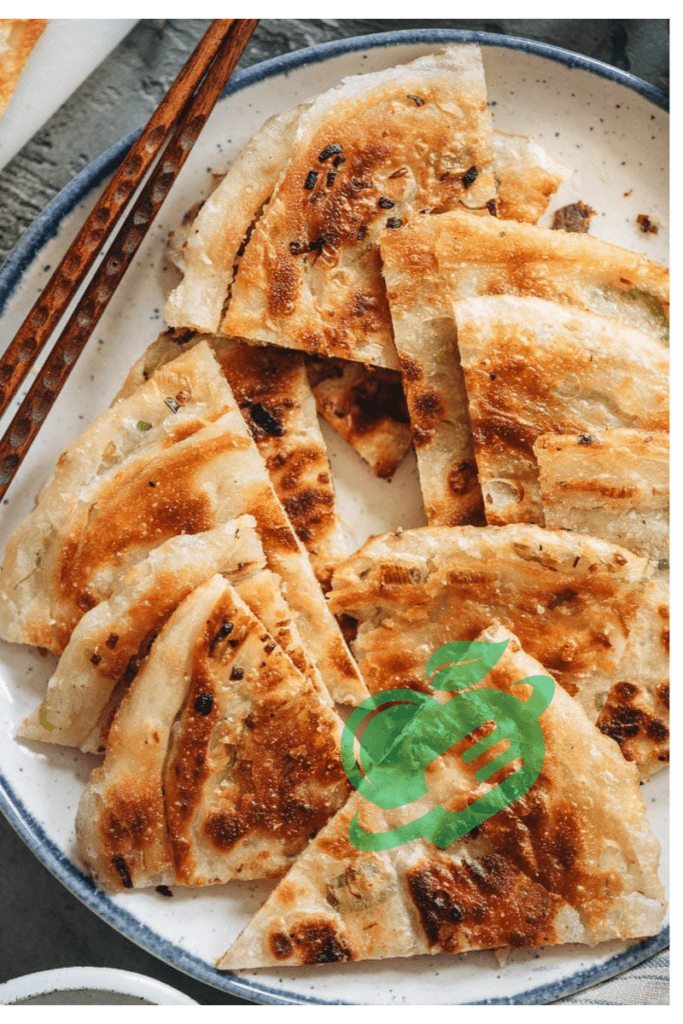
- Cutting Technique: Once the pancakes have slightly cooled, use a sharp knife or pizza cutter to slice them into wedges or triangles. Each slice should reveal those beautiful layers filled with the vibrant green onion mixture.
- Plating Presentation: Arrange the cut pancakes on a serving platter, overlapping them slightly for a stylish look. A sprinkle of extra chopped green onions on top can add a pop of color and freshness. I love to serve them on a colorful plate; it makes the dish even more inviting!
Recommended Dips and Side Dishes
No green onion pancake experience is complete without some delicious dips to accompany them. Here are a couple of classic options that will elevate your meal:
- Soy Sauce Dip: A simple mix of soy sauce, a dash of vinegar, and a sprinkle of sesame oil creates a tangy and savory dip. For a little spice, consider adding chili oil or freshly chopped chili.
- Sweet and Sour Sauce: For those who enjoy a bit of sweetness, a sweet and sour dipping sauce pairs excellently with the savory pancakes, adding a delightful contrast.
- Optional Garnishes: Don’t forget to serve some fresh cucumbers or pickled vegetables on the side; they provide a refreshing crunch that complements the rich flavors of the pancakes.
My family loves gathering around the table to share a plate of these delicious pancakes, especially when we have a variety of dips to experiment with. Each bite feels like a celebration, making the cooking process and the enjoyment of the meal truly rewarding!

Variations and Tips for Success
While green onion pancakes are delicious in their traditional form, there’s plenty of room for creativity! Experimenting with other ingredients can take this dish to new culinary heights. Here are some ideas to get you started:
- Herbs and Spices: Incorporate finely chopped cilantro, parsley, or dill for an herbal twist. You could also sprinkle in some chili flakes or five-spice powder for a flavor boost.
- Vegetables: Grated carrots, thinly sliced bell peppers, or even spinach can be added to the green onion mixture. These not only enhance the flavor but also add vibrant color and nutrition.
- Proteins: For a heartier pancake, try adding cooked shrimp, minced pork, or even shredded chicken to the green onion mixture. This transforms your pancakes into a more substantial meal.
I remember once making these pancakes with leftover roasted vegetables, and the result was a delightful surprise—each bite offered a different flavor profile!
Read also: The Ultimate Guide to Cooking with Green Onion
Troubleshooting Common Issues
Even the most experienced cooks encounter challenges from time to time. Here are a few common issues and tips to overcome them:
- Dough Too Sticky: If your dough is sticking to the surface or your hands, don’t hesitate to sprinkle a little more flour. Avoid adding too much, though, as it can make the pancakes tough.
- Pancakes Not Crispy: If you find that your pancakes are not crispy enough, ensure the oil is hot enough before adding the pancakes. A good sizzle should greet them as they hit the pan!
- Uneven Cooking: If some parts of the pancake are browning faster than others, give it a gentle press with the spatula while it fries. This ensures even contact with the hot skillet.
With these tips and variations, you’re well on your way to achieving green onion pancake perfection. The possibilities are endless, making each cooking session an opportunity for culinary exploration!
Read also: The Health Benefits of Red Onion You Should Know
Recap of Steps
As you embark on your journey to make delightful green onion pancakes, let’s recap the essential steps you need to create this beloved dish.
- Prepare the Dough: Begin by mixing all-purpose flour with hot water and salt to form a dough. Knead until smooth, then let it rest to achieve the perfect texture.
- Create the Green Onion Mixture: Chop fresh green onions, season them with salt and optional spices, and set aside.
- Roll and Shape: Divide the rested dough into portions, roll them out, and layer with the green onion mixture before rolling them up into spirals.
- Cook the Pancakes: Use a high-smoke-point oil in a hot skillet, frying each pancake until golden and crispy on both sides.
- Serve and Enjoy: Cut the pancakes into wedges and pair them with your favorite dips to enhance the flavor further.
Final Tips for Delicious Green Onion Pancakes
Creating perfect green onion pancakes isn’t just about following the steps; it’s also about refining your technique. Here are some final tips for success:
- Use Fresh Ingredients: Always opt for fresh green onions and high-quality flour to enhance the flavor and texture.
- Don’t Rush: Allowing the dough to rest properly is essential. This step cannot be overlooked to ensure it rolls out easily.
- Experiment with Flavors: Feel free to explore various fillings and dips. Each variation can bring new life to a classic dish.
Frequently asked questions
What do you eat green onion pancakes with?
Tasty Chinese dishes that complement scallion pancakes.
Sichuan-style stir-fried Chinese long beans.
Chinese Hot and Sour Soup.
Slow Cooker Chinese Pulled Pork with Five-Spice Seasoning.
Char Siu Chicken. 1.
What is the difference between Chinese and Korean green onion pancakes?
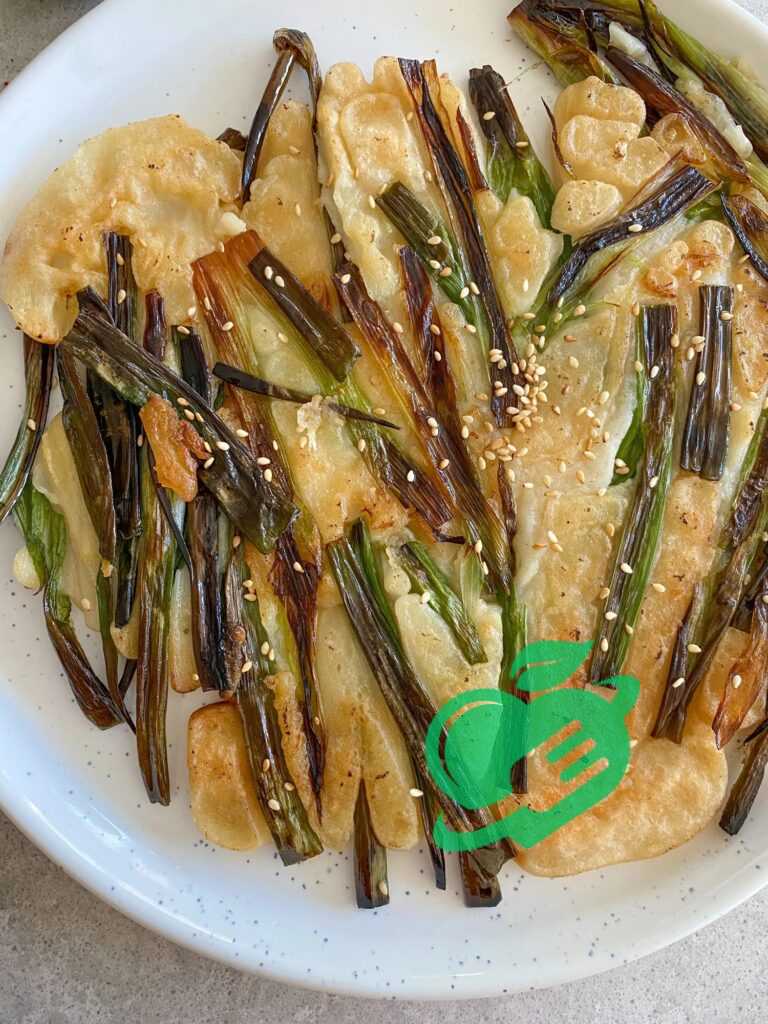
While they are somewhat comparable to Chinese scallion pancakes (cong you bing), the key distinction is that the Chinese recipe uses a dough, whereas the Korean pancake recipe utilizes a liquid batter. In Korean, “pa” translates to scallion, which is why there are various other versions of these pancakes. 2
What is the origin of green onion pancakes?
Green onion pancakes are believed to have originated in Northern China, where they are called Cong You Bing (蔥油餅). It is said that immigrants from Fujian province introduced this dish to Taiwan in the late 19th century. 3
What is a Japanese pancake called?
Okonomiyaki (Japanese Pancake ) 4
What is a Korean pancake called?
Buchimgae (Korean: 부침개), often called Korean pancake, encompasses a variety of pan-fried foods that are coated in egg or batter combined with additional ingredients. More precisely, it is a dish created by frying a thick batter mixed with egg and other components until it becomes a thin, flat fritter resembling a pancake. 5
Your body is a mirror of what you eat, so make your food your source of strength and health. Choose with love and awareness what nourishes your body and soul, and be a friend of nature and its colors on your plate, because proper nutrition is the key to a life full of energy and wellness. Follow us constantly, as we strive to provide more useful articles and reliable information that make a difference in your daily life and help you achieve your health goals.
- simplyrecipes ((↩))
- pickledplum ((↩))
- myformosafood ((↩))
- allrecipes ((↩))
- Wikipedia ((↩))


Can you be more specific about the content of your article? After reading it, I still have some doubts. Hope you can help me.
sure