Grapesicles: How to Freeze Grapes for a Sweet Treat

What are Grapesicles?
Grapesicles are simply frozen grapes, a delightful twist on enjoying nature’s candy. They provide a burst of sweetness and a refreshing crunch, perfect for warm days or as a guilt-free snack. Whether enjoyed on their own, added to a smoothie, or used as ice cubes in beverages, grapesicles are versatile and easy to make. Think of them as nature’s popsicles—delicious, nutritious, and bursting with flavor! Imagine biting into a frosty grape on a hot summer day; the coldness melds with the natural sweetness, offering an invigorating treat that keeps you coming back for more. What makes freezing grapes even better is how straightforward it is; anyone can do it without needing complex equipment or skills.
Benefits of Freezing Grapes for a Sweet Treat
Freezing grapes goes beyond just making a tasty snack. Here are some key benefits of this simple process:
- Nutrient Retention: Grapes are packed with vitamins, antioxidants, and minerals. Freezing helps preserve these nutrients, making them a smart choice for a healthy treat.
- Convenience: Having frozen grapes ready to go means you’ve got a quick solution for those sweet cravings without the added sugar found in many processed snacks.
- Versatility: They can serve multiple purposes! Use them in smoothies, as a refreshing cocktail garnish, or even as a child-friendly snack.
- Natural Sweetness: For those looking to reduce sugar intake, frozen grapes provide a naturally sweet alternative without any added sugars.
In essence, grapesicles not only offer enjoyment but also a range of health benefits that make them a must-try for anyone looking to indulge in a guilt-free snack!
Read also: Creep It Real: Hauntingly Delicious Halloween Drink Recipes
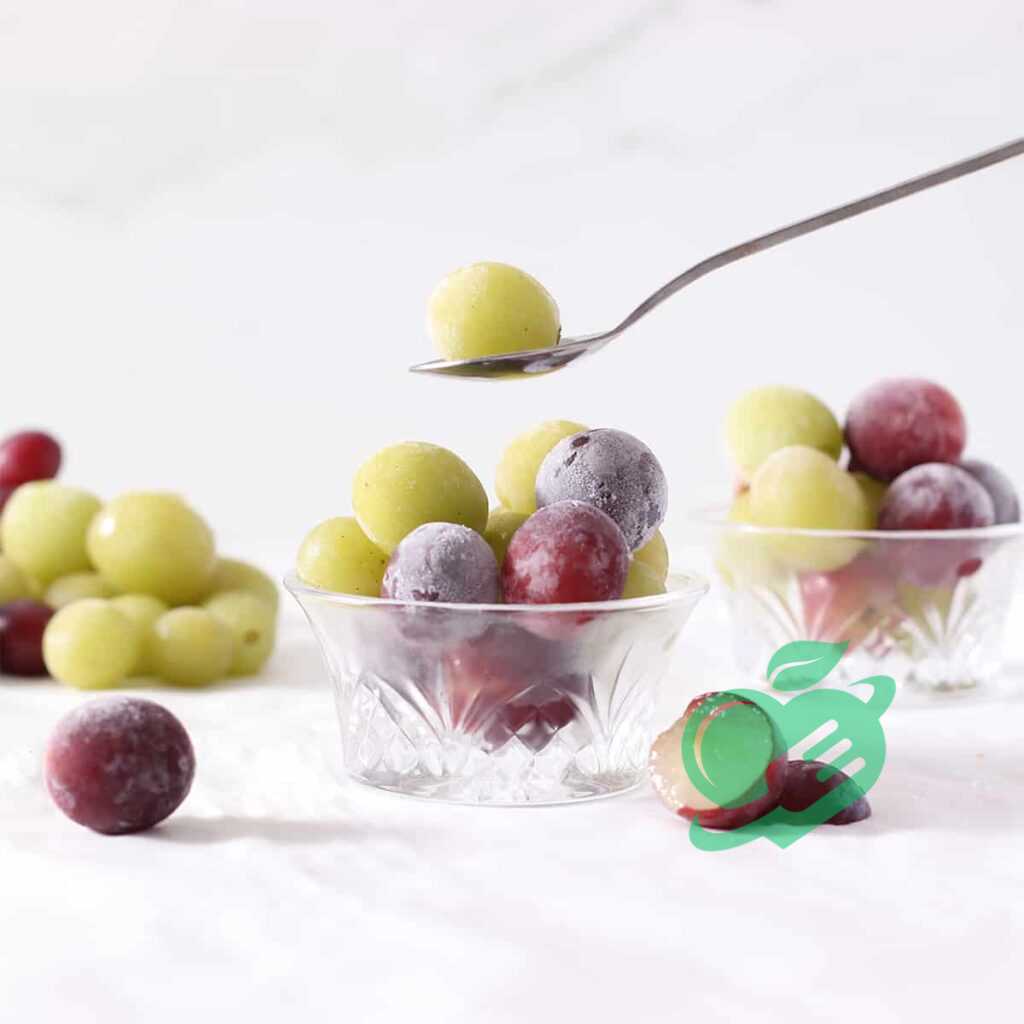
Best Grape Varieties for Freezing
When it comes to freezing grapes, not all varieties are created equal. Certain types lend themselves exceptionally well to this method, ensuring you get the best flavor and texture once thawed. Here are some of the top grape varieties to consider for making your grape sicles:
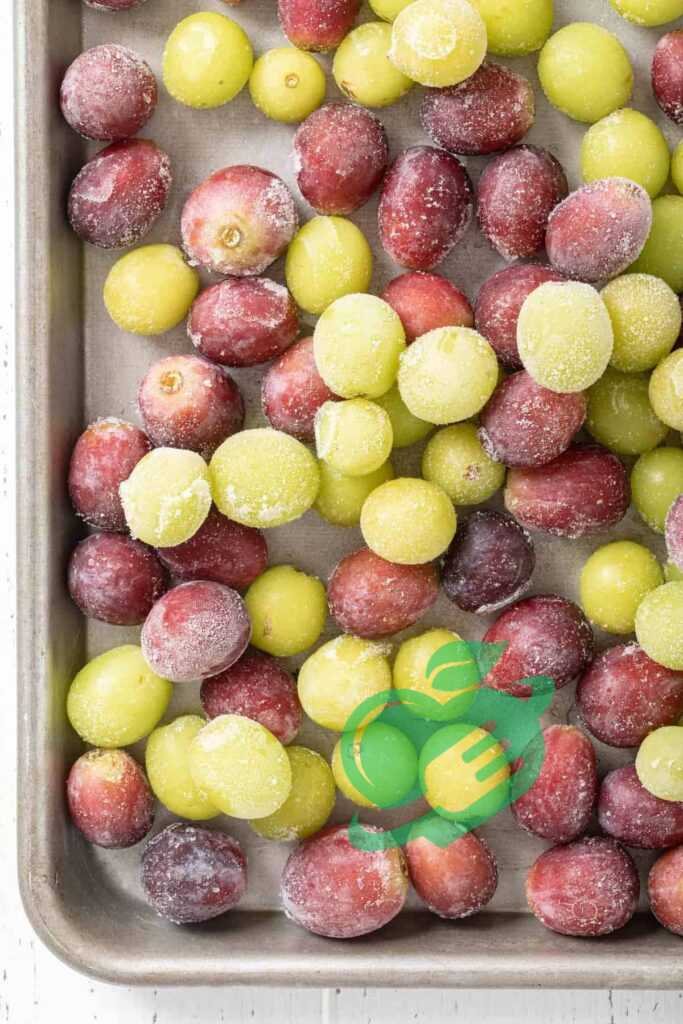
- Red Grapes: Varieties like Concord or Red Globe are particularly juicy and sweet. Their natural sugars make them a delightful frozen treat.
- Green Grapes: Thompson Seedless grapes are a popular choice; they are crisp and refreshing, perfect for a burst of sweetness on a hot day.
- Black Grapes: These grapes, such as Black Corinth, are smaller but pack a punch in flavor. They are not only delicious but also packed with antioxidants!
Experimenting with different varieties can lead to surprising and delightful flavors.
Selecting Ripe and Fresh Grapes
Choosing the right grapes is crucial in ensuring you end up with the best grapesicles. Here are some tips for selecting ripe and fresh grapes:
- Color: Look for vibrant colors—deep purple for red grapes, bright green for green grapes, and rich black for black grapes.
- Plumpness: Choose grapes that are firm and plump. Avoid those that feel shriveled or soft, as they may not freeze well.
- Stem Condition: Fresh grapes will have healthy green stems. If the stems are brown and dried, this could indicate the grapes are past their prime.
- Smell: A sweet aroma is often a sign of ripeness. If the grapes have a sour smell, it’s best to skip them.
By taking the time to choose the right variety and picking ripe, fresh grapes, the process of freezing will surely yield a delicious and rewarding snack!
Washing the Grapes
Once you’ve selected your perfect grapes, the next step is preparing them for freezing. The first and most important task is washing them thoroughly. Grapes can be coated with dirt, pesticides, or residue from handling, and a proper wash ensures you’re ready to enjoy a clean snack. Here’s how to do it effectively:
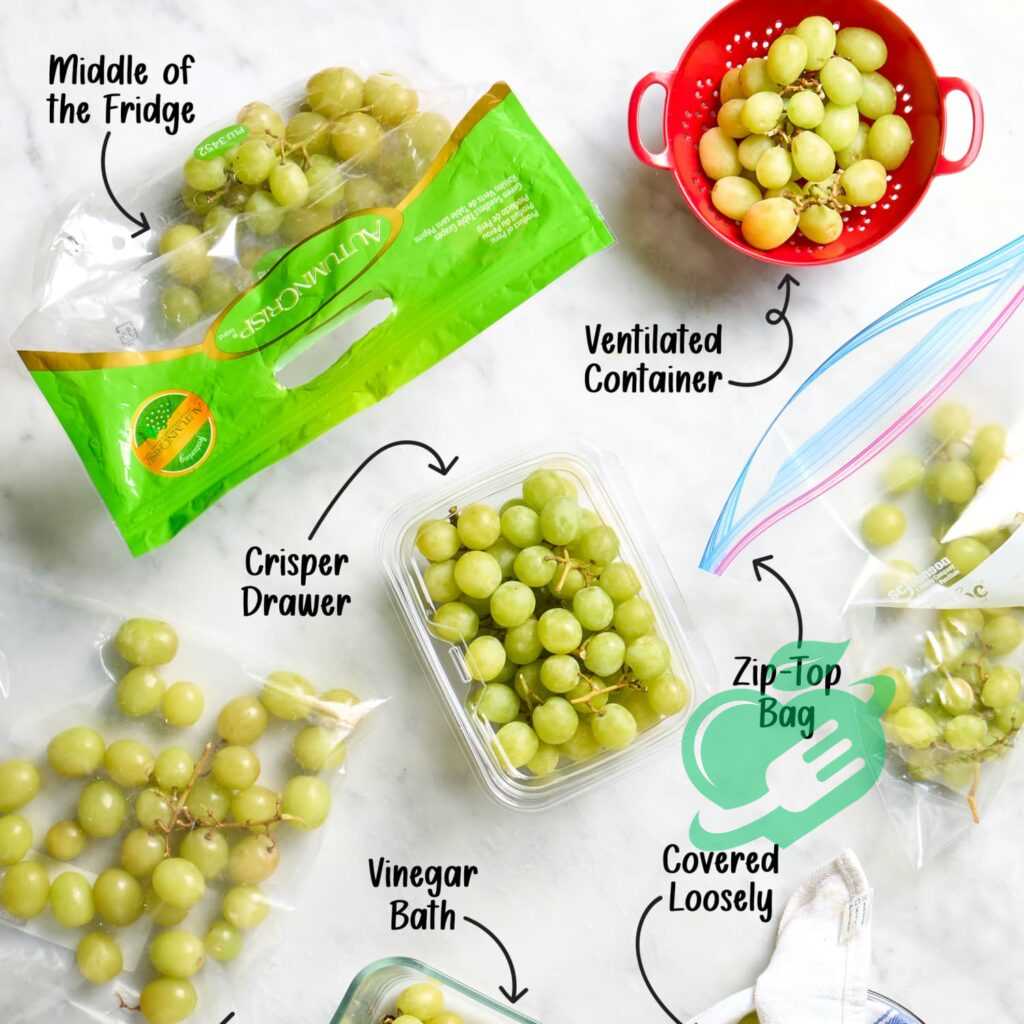
- Rinse under cold water: Place the grapes in a colander and rinse them thoroughly under cold running water. Gently shake the colander to help remove any impurities.
- Use a vinegar solution (optional): If you want extra security against chemicals or bacteria, mix one part vinegar with three parts water. Soak the grapes in this solution for about 10 minutes before rinsing them under cold water again. This method is something I swear by after hearing how it enhances the cleanliness of fresh produce!
stemming and Drying the Grapes
After washing, it’s time to tend to the stems. Removing the stems not only makes for an easier snack but also helps in the freezing process. Here’s what to do:
- Remove the stems: Go through each grape and gently pull off the green stem. This will ensure you’re left with only the sweet, juicy grape. This step can be somewhat therapeutic—just be cautious not to squish the grapes!
- Dry the grapes: Lay the washed grapes on a clean kitchen towel or paper towel, and pat them dry gently. Ensuring they are dry helps avoid ice crystals forming during freezing, which can affect their texture upon thawing.
By following these simple preparation steps—washing, stemming, and drying—you set the stage for perfectly frozen grapes that will tantalize your taste buds when it’s time to enjoy your grapesicles!
Read also:Dry Yogurt: Your New On-the-Go Essential
Freezing Techniques
Spread Method
Now that your grapes are prepped and ready, it’s time for the most exciting part—freezing! There are two primary methods to freeze grapes, and each has its benefits. Let’s start with the Spread Method, which I prefer for its effectiveness and ease of use.
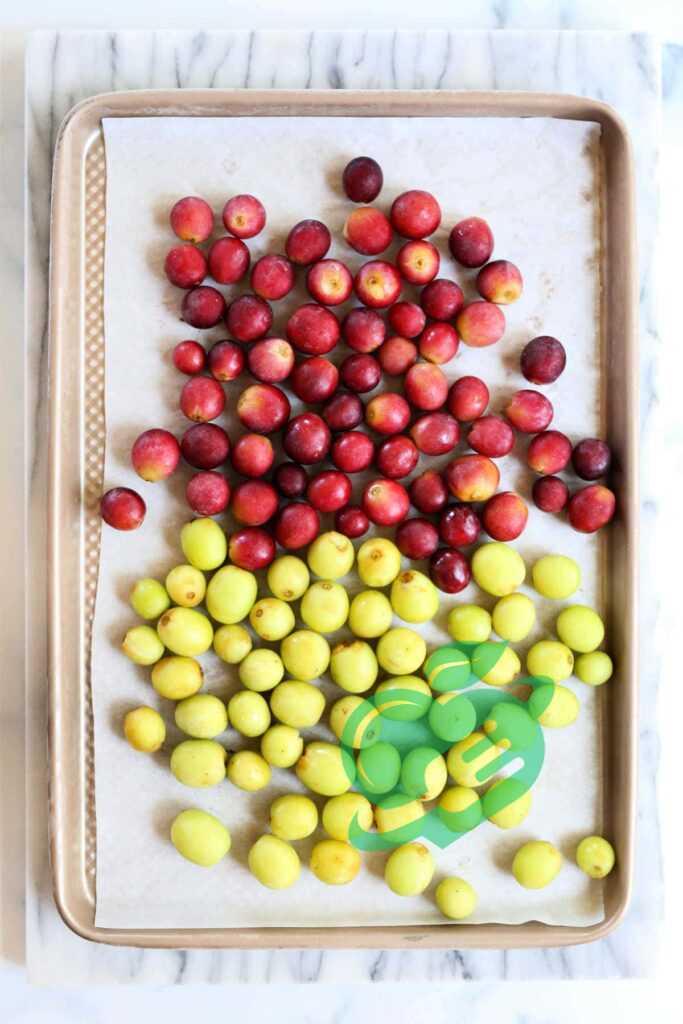
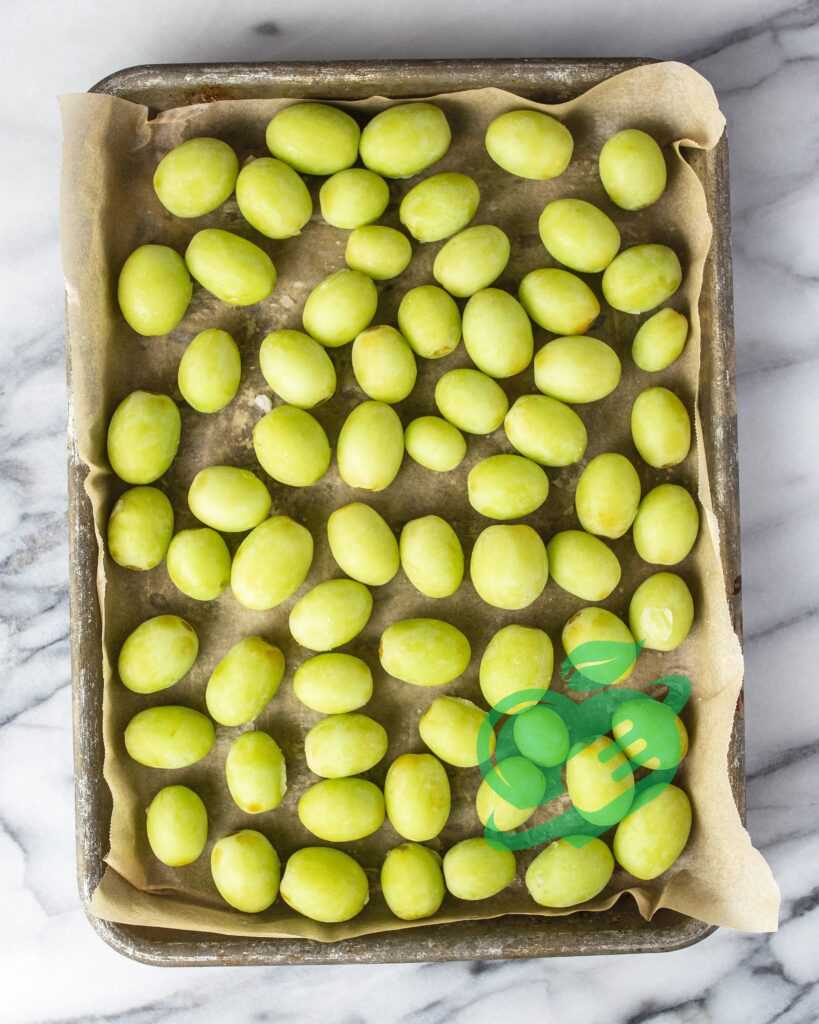
- Using a Baking Sheet: Lay a baking sheet lined with parchment paper flat on your counter.
- Single Layer: Spread your cleaned and dried grapes in a single layer, ensuring they aren’t touching. This prevents them from sticking together, allowing you to grab a handful whenever you desire a sweet snack. I’ve found that spreading them out keeps everything neat and organized.
- Freezing Time: Place the baking sheet in the freezer for about 2-3 hours or until the grapes are completely frozen.
Once frozen, you can transfer the grapes into a resealable freezer bag or airtight container, making it easy to store and access them later.
Clustering Method
Alternatively, the Clustering Method is another viable option, especially if you’re looking to bulk-freeze your grapes.
- Bunch Together: In this method, you can place the grapes together in a container or freezer bag without spreading them out first.
- Sealing Carefully: Take care to push out as much air as possible from the bag or container to minimize freezer burn. I often use a vacuum sealer for this, which not only preserves flavor but also optimizes storage space.
- Storing Clusters: While this method is quicker, keep in mind that clustering may result in slightly clumped grapes that are more challenging to separate when frozen.
Both methods have their advantages, so choose the one that fits your freezing needs. With these techniques, your grapesicles will be just a freeze away from being delightful, icy treats perfect for snacking!
Read also: Satisfy Your Cravings: 20 Healthy Snacks That Won’t Sabotage Your Diet
Serving and Enjoying Grapesicles
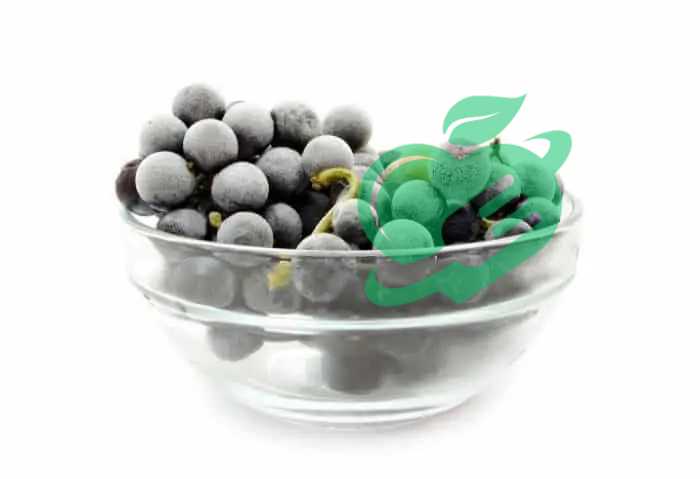
After patiently waiting for your grapes to freeze, the moment has finally arrived to enjoy your delicious grapesicles! One key aspect to remember is how to thaw them properly. While they can be enjoyed straight out of the freezer for a crunchy treat, here are some ways to thaw them for your preference:
- Quick Thaw: If you want to eat them right away but prefer a softer texture, simply leave them at room temperature for about 5-10 minutes. This slight thaw can enhance their sweetness without turning them into mush.
- Smoothies: For a refreshing smoothie, you can toss frozen grapes straight into your blender—no need to thaw! They’ll chill your smoothie to perfection and add a natural sweetness.
My kids love it when I blend frozen grapes into their morning smoothies; they think it’s just a fun, fruity drink!
Serving Suggestions and Pairings
Once thawed (or not!), there are countless ways to enjoy frozen grapes. Here are some tantalizing serving suggestions:
- Snack Bowls: Serve a bowl of frozen grapes at parties as a unique, healthy snack option. They are a hit with both kids and adults!
- Cheese Boards: Pair your grapesicles with a variety of cheeses. The sweetness of the grapes complements the saltiness of cheeses like goat cheese or sharp cheddar beautifully.
- Cocktails and Beverages: Use frozen grapes as ice cubes in cocktails or flavored water. They not only chill the drink but add a burst of flavor as they thaw.
The unique, refreshing taste of frozen grapes makes them a versatile snack whether enjoyed on their own or paired creatively. No matter how you choose to serve them, these grapesicles promise a delightful experience!
Read also: How to Cook Barley Pearl Perfectly Every Time
Storing Frozen Grapes
Now that you’ve prepared, frozen, and enjoyed your grapesicles, it’s important to know how to store them correctly for optimal freshness. The right storage containers can make all the difference in preserving those delightful flavors. Here are some effective options:
- Freezer Bags: Resealable freezer bags are one of the best choices. They allow you to press out the air, minimizing freezer burn. I’ve found that writing the date on the bag helps keep track of how long they’ve been stored.
- Airtight Containers: If you prefer a more rigid option, use airtight plastic or glass containers. Just be sure to fill them with as few air pockets as possible.
- Vacuum Sealers: For those who want to go the extra mile, vacuum sealing can keep your grapes fresher for an extended period. This method removes air, preventing freezer burn and maintaining flavor integrity.
Shelf Life of Frozen Grapes
Understanding the shelf life of your frozen grapes is crucial for making the most of your preparation. Generally, frozen grapes are at their best when eaten within 6-12 months. Here’s a simple guide:
- Optimal Quality: For the best taste and texture, aim to enjoy your frozen grapes within 6 months. After this period, they may still be safe to eat but could lose some flavor and texture.
- Long-Term Storage: If stored properly in airtight containers or vacuum-sealed bags, grapes can last up to a year without major degradation in quality.
I always manage to keep a stash on hand, using a rotation system to ensure I’m enjoying the freshest ones. Knowing these storage tips will help you savor your grapesicles for months to come, guaranteeing delightful bites whenever the craving strikes!
Read also: Brain Freeze Buster: Remedies for Instant Relief
Health Benefits of Frozen Grapes
Frozen grapes are not just a tasty treat; they are also packed with essential nutrients that contribute to a well-balanced diet. Here’s a quick breakdown of the nutritional value of grapes:
- Low in Calories: A cup of grapes contains approximately 104 calories, making them a great guilt-free snack option.
- Rich in Vitamins: Grapes provide Vitamin C, which is crucial for a healthy immune system, and Vitamin K, which aids in blood clotting.
- Antioxidants: They are loaded with antioxidants like resveratrol and flavonoids, which combat free radicals in the body. This means that every bite of your frosty grapesicle is not only refreshing but also beneficial!
As a busy parent, I often rely on frozen grapes for my kids’ snacks, knowing they’re consuming something nutritious.
Potential Health Benefits
The health benefits of incorporating frozen grapes into your diet are numerous. Here are some key advantages:
- Heart Health: Studies suggest that resveratrol may lower blood pressure and reduce the risk of heart disease, making frozen grapes a heart-friendly snack.
- Hydration: With grapes being about 80% water, they help in maintaining hydration, especially during those hot summer months when we often seek something cool and refreshing.
- Weight Management: Their low-calorie count and high water content make them an excellent snack for those watching their weight, offering volume and satisfaction without excess calories.
By enjoying grapesicles, you not only indulge in a delicious treat but also promote your overall health. It’s a win-win situation that I wholeheartedly embrace in my family’s snacking routine!
Read also: The Ultimate Fiber Snack List for Health-Conscious Snackers
Recap of the Benefits of Grapesicles
In summary, grapesicles are more than just a fun and simple treat; they encapsulate a multitude of benefits that can enhance your snacking experience. From their delicious taste to their remarkable nutritional value, frozen grapes stand out as a choice for both health and enjoyment.
- Nutrient Dense: Rich in vitamins, and antioxidants, and low in calories, these little bites pack a powerful punch when it comes to maintaining good health.
- Versatile Use: Frozen grapes can be used in endless ways, whether added to smoothies, enjoyed fresh, or incorporated into favorite recipes.
- Convenient: Preparing and freezing grapes is easy, making them a hassle-free option for busy lifestyles.
As a mom, I appreciate that my kids can happily snack on something good for their health!
Final Tips for Freezing Grapes
To ensure that your frozen grapes remain the best they can be, keep these tips in mind:
- Choose Quality: Always select ripe, fresh grapes for freezing to guarantee a delightful flavor.
- Store Properly: Use airtight containers or resealable freezer bags to prevent freezer burn and maintain taste.
- Experiment: Don’t hesitate to try different grape varieties or combinations with other fruits to discover new taste sensations!
Frequently asked questions
Do grapes freeze well?
If your grapes are stored in a bowl covered with food-safe plastic wrap, such as Glad® Cling’n Seal™ or Glad® Press’n Seal®, they should remain fresh for about a week. If you freeze them, they can last for up to a month. 1
What can we make with frozen grapes?
Create frozen grape popsicles by puréeing frozen grapes with a bit of grape juice, then pour the blended mixture into plastic molds.
مزيج شربات العنب.
Add grapes to your morning smoothie.
Cool your beverage by adding ice cubes made from frozen grapes.
Offer frozen grapes as a cool starter dish. 2
Why do grapes turn brown in the freezer?
Enzymes involved in ripening can lead to browning or color changes in frozen fresh fruits after they are thawed. This phenomenon occurs because of alterations in the cell wall structure and a decrease in vitamin C content. Vitamin C acts as an antioxidant and not only offers health benefits but also contributes to preserving the color of fruits. 3
Do frozen grapes have more calories?
Black, red, and green grapes share comparable nutrient profiles, and freezing preserves these nutrients, ensuring that frozen grapes maintain the same nutritional value as fresh ones. They are a relatively low-calorie snack, containing just 60 calories per half-cup serving, or 80 grams. 4
Do frozen grapes lose their nutrients?
Freezing fruit effectively preserves both the fruit and its nutrients, with minimal nutrient loss. 4
Does freezing grapes change the sugar content?
Freezing grapes enhances their natural sweetness by concentrating the sugars. All types of grapes—green, red, or black—can be successfully frozen, but seedless grapes are generally favored for this purpose since they are easier to consume after thawing. 5
What are the disadvantages of frozen fruit?
Frozen fruits offer a convenient and healthy choice, but there are some possible drawbacks to consider:
- Nutrient Loss.
- Texture Changes.
- Flavor Differences.
- Added Sugars.
- Ice Crystals.
- Price and Availability.
- Storage Space. 6
Which frozen fruit is healthiest?
1- Frozen berries are packed with health-boosting, anti-inflammatory antioxidants and fiber, even though they aren’t available fresh throughout the entire year.
2- Frozen Cherries.
3- Frozen Avocado.
4- Frozen Pineapple.
5- Frozen Acai.
Your body is a mirror of what you eat, so make your food your source of strength and health. Choose with love and awareness what nourishes your body and soul, and be a friend of nature and its colors on your plate, because proper nutrition is the key to a life full of energy and wellness. Follow us constantly, as we strive to provide more useful articles and reliable information that make a difference in your daily life and help you achieve your health goals.


