Introduction
Overview of Hair Dye Disasters
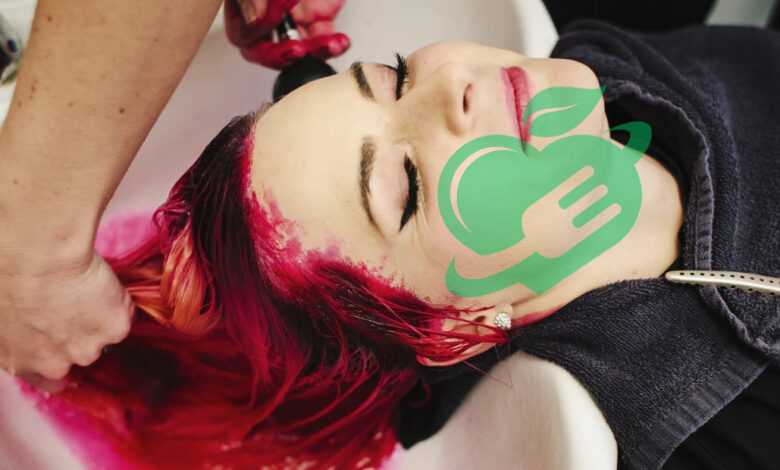
Hair dye mishaps are more common than one might think. From vibrant streaks on the forehead to a rainbow of color on the neck, many have experienced the unfortunate fallout of a DIY dye job. One person remembers the moment they turned into a walking art project after applying a particularly vibrant shade of blue. These disasters can happen due to various factors:
- Improper Application: Overlapping old dye with new can lead to unwanted stains.
- Lack of Preparation: Forgetting to cover up or protect the skin can lead to a colorful mess.
Importance of Removing Hair Dye from Skin
The significance of promptly removing hair dye from the skin cannot be overstated. Not just for aesthetics, but also for skin health:
- Prevents Irritation: Leaving dye on the skin can lead to sensitivity or allergic reactions.
- Enhances Appearance: Clear skin after a coloring session looks more polished and professional.
Taking immediate action ensures that those vibrant hues stay where intended—on the hair and not on the skin!
Precautionary Measures
Wear Gloves
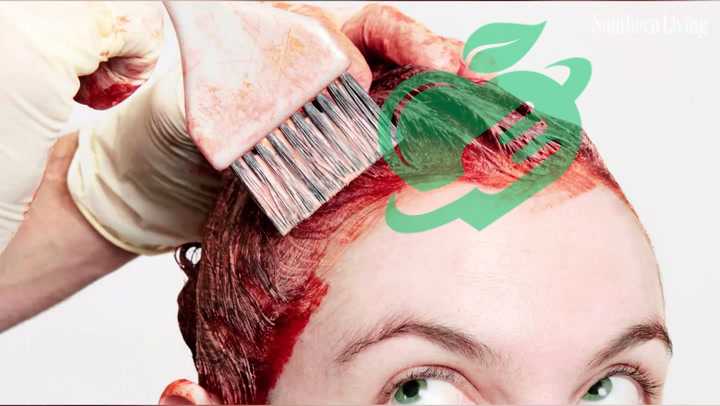
To avoid a hair dye disaster right at the start, wearing gloves is crucial. It may seem like a minor detail, but it can save your hands from unsightly stains. One user recalls her first at-home dye experience where she forgot gloves, resulting in colorful fingers for weeks.
- Choose the Right Material: Opt for waterproof or rubber gloves to prevent staining.
- Ensure a Tight Fit: Loose gloves can lead to spills and mishaps.
Apply Barrier Creams
Another precaution is applying barrier creams around the hairline. These creams create a protective layer between your skin and the dye.
- Use Vaseline or Petroleum Jelly: A thin layer around your forehead, ears, and neck can work wonders.
- Simple Application: Just dab it on with your fingers before starting the dye process.
By following these precautionary measures, you’ll make your hair dyeing journey smoother and less stressful!
Read also : 5 perfect tips for perfect, fresh skin
Household Remedies
Lemon Juice
When it comes to removing hair dye from the skin, lemon juice often stands out as a tried-and-true remedy. Packed with natural acids, it can help lift those stubborn stains effectively. One user shared their success story of using lemon juice to lighten dye marks on their forehead.
- How to Use: Simply squeeze fresh lemon juice onto a cotton ball and dab it onto the stained area.
- Add Scrubbing: For tougher stains, a gentle scrub with the cotton ball can enhance the effect.
Baking Soda
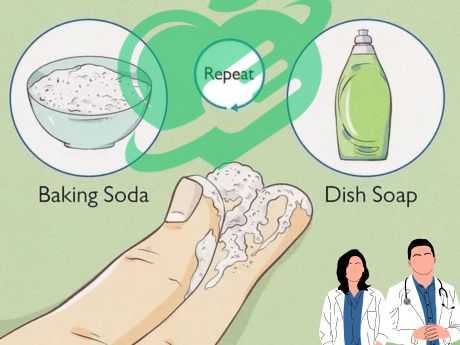
Another household hero is baking soda, known for its mild abrasiveness. A friend once relied on this kitchen staple to tackle a blotchy dye mishap.
- Make a Paste: Combine baking soda with a bit of water to create a thick paste.
- Application: Gently rub the paste onto the stained skin, then rinse thoroughly.
These household remedies are not only effective but also make for easy cleanup after a dye session!
Beauty Products
Hair Dye Remover
For those stubborn dye stains that household remedies can’t tackle, a dedicated hair dye remover can come to the rescue. Many companies offer specialized products designed to efficiently lift dye from the skin. A friend of mine swears by a specific brand after battling a particularly vibrant red stain on her neck.
- How to Use: Follow the instructions on the packaging—usually, it involves applying the product directly to the stain and wiping it off after a few minutes.
- Results: Users often report quick results, restoring their skin to its natural state without irritation.
Makeup Remover – Hair dye
On the other hand, makeup remover can also be surprisingly effective at tackling hair dye stains. One beauty enthusiast noted how a gentle, oil-based makeup remover saved her skin after a coloring session.
- Application Method: Simply soak a cotton pad with the remover and gently rub the stained area.
- Quick Cleanup: This method is usually fast and can hydrate the skin at the same time.
Utilizing these beauty products can simplify the cleanup process, ensuring a polished look post-dye job!
Kitchen Pantry Solutions – Hair dye
Vinegar
When it comes to hair dye removal, vinegar is a secret weapon hiding in many kitchens. Anecdotes abound of vinegar saving the day for those caught in a color catastrophe. One friend shares how white vinegar helped lift a stubborn blue stain from her arm.
- Simple Application: Mix equal parts water and vinegar, then apply the solution with a cotton ball to the stained area.
- Rinse Thoroughly: After a few minutes, rinse with warm water to reveal cleaner skin.
Coconut Oil – Hair dye
Another fantastic solution is coconut oil, which boasts both stain-fighting and moisturizing properties. It’s perfect for those who want a gentle method to tackle unwanted dye marks. A user revels in how coconut oil not only cleared a red dye stain but also left her skin feeling soft.
- Application Method: Simply warm up a small amount of coconut oil, apply it to the dye-stained skin, and massage gently.
- Wipe Off: After a few minutes, wipe it away with a damp cloth for effective results.
Exploring these kitchen pantry solutions can turn a hair dye disaster into a minor inconvenience!

Professional Help
Salon Treatments – Hair dye
When all else fails, professional assistance might be the best option for stubborn hair dye stains. Many salons offer specialized treatments designed to gently remove dye from the skin. A friend once recounted her experience after a particularly messy dye job; the salon’s quick fix not only cleared her skin but also lightened her hair on the same visit!
- Consultation: Speak with your stylist about the best removal options available.
- What to Expect: These treatments are often swift and effective, usually requiring little downtime.
Read also : 5 tips to ensure renewed beauty and eternal youth
Dermatologist Consultation
In more stubborn cases or if irritation arises, don’t hesitate to consult a dermatologist. Their expertise can offer tailored solutions for skin issues resulting from hair dye. A colleague emphasized the importance of reaching out to her dermatologist when she developed a rash after an at-home dye job.
- Why See a Dermatologist?: They can recommend the appropriate treatments and medications tailored to your skin type.
- Peace of Mind: Professional guidance ensures that the health of your skin remains a top priority.
Seeking professional help can give peace of mind and effective solutions for any hair dye disaster.
Tips for Prevention
Test Patch before Application
Before diving into a new hair dye adventure, always conduct a test patch. This simple step not only helps avoid allergic reactions but also lets you see how the color will appear on your hair. A friend learned this the hard way when she applied a vibrant shade without testing first, leading to an unexpected result!
- How to Test: Apply the dye to a small, inconspicuous area of hair and wait for the recommended time.
- Check for Reactions: Observe for any irritation or unexpected colors before proceeding with a full application.
Use Petroleum Jelly
Another effective method of preventing dye disasters is using petroleum jelly. This handy product can serve as a barrier to keep color from staining your skin.
- Application: Generously apply a thin layer of petroleum jelly around your hairline, ears, and neck.
- Easy Cleanup: It not only protects the skin but also simplifies the removal process after dyeing.
By implementing these preventive tips, individuals can confidently embark on their hair dye journeys while minimizing the risk of accidents!


2 Comments